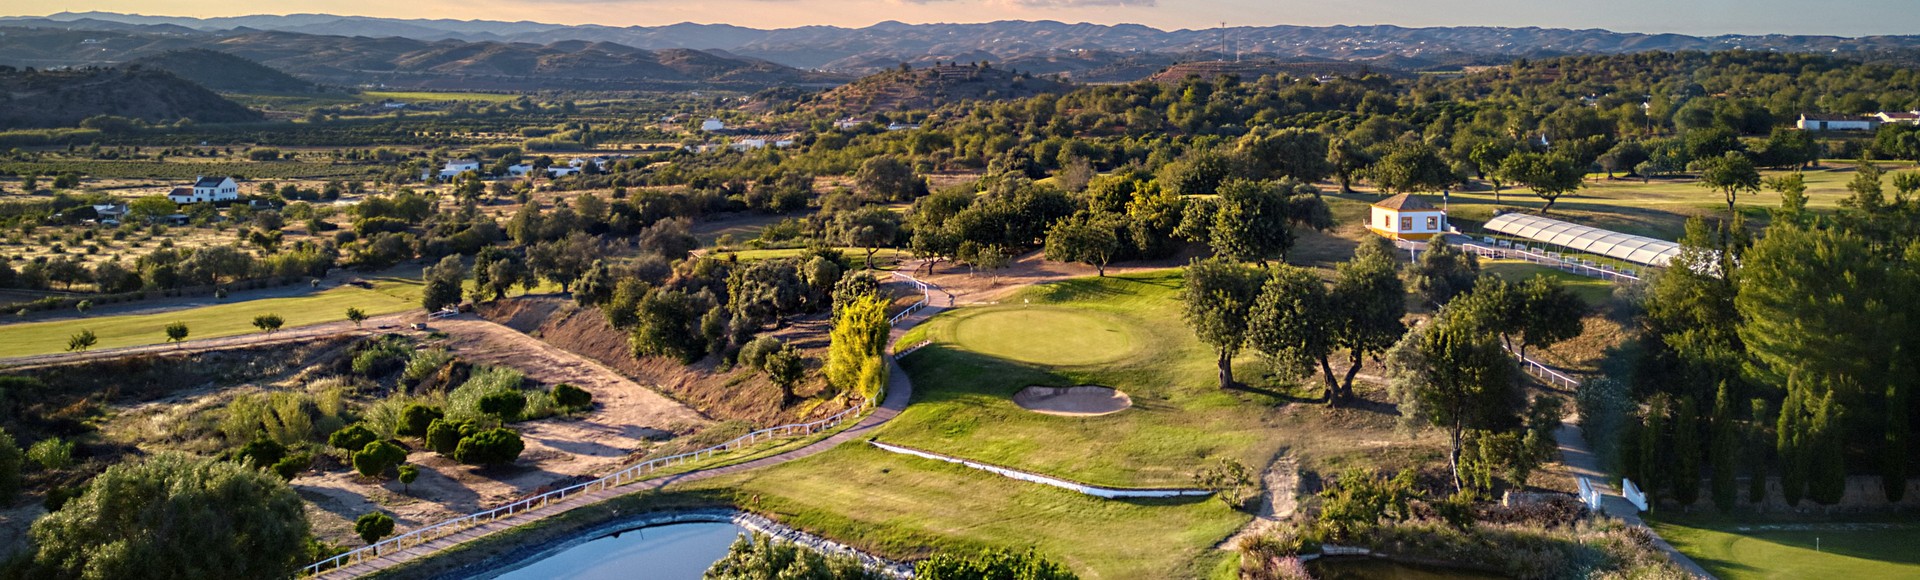
Hole 1
Par 4
A gentle start: a slight dogleg right with a wide fairway, and most players can reach the green in two. Two bunkers guard it. The club's tip is to take one more club than you think for the approach.
What each hole at Benamor Golf looks like, where the trouble is and how the club suggests playing it. The notes are our summary of the club's own hole-by-hole guide.
A gentle start: a slight dogleg right with a wide fairway, and most players can reach the green in two. Two bunkers guard it. The club's tip is to take one more club than you think for the approach.
An uphill par 3 that often plays into the wind, so add a club. The green is hard to putt, and par is a good score.
A straightforward par 4 and one of the course's birdie chances.
Another short par 4: two good shots set up a birdie putt.
A long par 5 with an uphill drive that has to avoid big trees down the left of the fairway. Once past them the hole is straight, but it is still a long way. Par is a good score.
One of the best par 4s on the course: it needs a straight drive and a precise second. Watch the bunker on the left of the green.
Not a hard hole: three solid shots, starting with an uphill drive, should give you par, and a good player has a birdie chance. Bunkers sit either side of the green.
The club rates this its best par 3. It plays uphill, so most players need a wood from the white tees, and the green is tricky. Par here is an excellent result.
A slight dogleg left that brings you back to the clubhouse, to a well-bunkered green.
A good-looking par 3 with a lake in front and out of bounds all the way down the left. Depending on the wind, it can need anything from a 4-iron to a 9-iron.
A clear birdie chance: a good drive leaves just a pitch. Mind the bunker in front of the green.
A par 3 with a very deep green, so choosing the right club is everything. Bunkers left and right catch a lot of balls.
An attractive hole from the tee. Long hitters can carry the ditch at about 190 m; an average player can reach the green with two mid irons. One bunker guards the front. A birdie chance.
A dogleg right that is harder than it looks: the second shot plays longer than you expect. Par is a good score for any golfer.
Out of bounds on both sides and two well-placed fairway bunkers, but a straight hitter should make par.
A strong hole with a downhill second shot. You need a long drive to have a chance of reaching the green in two; two bunkers guard it front left and front right.
A par 3 over a pond, with two large bunkers on either side of the green.
The club calls this its best hole. Out of bounds runs down both sides from tee to green and trees stand in the fairway, so it rewards thinking more than power. Par here is well played.
Source: Benamor Golf official hole-by-hole guide, summarised in our own words, checked November 2026. Courses change bunkers, tees and hazards over time, so ask the pro shop about anything new before your round.
Benamor Golf is a par 71 over 18 holes: 5 par 3s, 9 par 4s and 4 par 5s.
To work out your shots from each tee, use the Benamor Golf slope rating page. For facilities, handicap rules and how to get there, see the full Benamor Golf course guide, and check the Benamor Golf green fees.